
Why This Recipe Works
This Mouthwatering King’s Hawaiian Cheesecake Danish You’ll Love works so well because it leans into what those rolls already do best. King’s Hawaiian rolls bring a built in sweetness and pillowy texture, so you get that classic bakery style danish feel without fussing with yeast dough or laminated pastry. Splitting the rolls and layering the cream cheese filling in the middle creates a soft, custardy center that bakes up like a shortcut cheesecake, tucked inside a golden, buttery bread blanket. The result tastes like you spent all morning making pastry, but your hands on time is closer to the effort of making simple cinnamon rolls.
The cream cheese mixture is intentionally simple, just softened cream cheese, sugar, and vanilla bean paste, which keeps the filling smooth and stable in the oven. Because there are no eggs, you do not have to worry about curdling or overbaking, which makes this Mouthwatering King’s Hawaiian Cheesecake Danish You’ll Love very beginner friendly. The rolls act like little walls, holding the filling in place so it does not leak or spread, and that means you can slice clean squares for serving without any messy collapse. It also reheats beautifully, so you can bake it ahead for brunch, then warm it gently before guests arrive.
The quick vanilla glaze pulls everything together and gives you that glossy bakery finish with almost no effort. Mixing powdered sugar with milk and more vanilla bean paste creates a pourable glaze that seeps into the nooks between the rolls while also setting into a thin, sweet crust on top. As it bakes, the glaze caramelizes slightly around the edges, which adds a faintly chewy, almost toffee like bite that plays so nicely with the creamy center. If you love easy, shareable treats like a blueberry cream cheese casserole or a simple pull apart breakfast bake, this Mouthwatering King’s Hawaiian Cheesecake Danish You’ll Love hits that same cozy, crowd pleasing sweet spot with even less work.
How to Make It
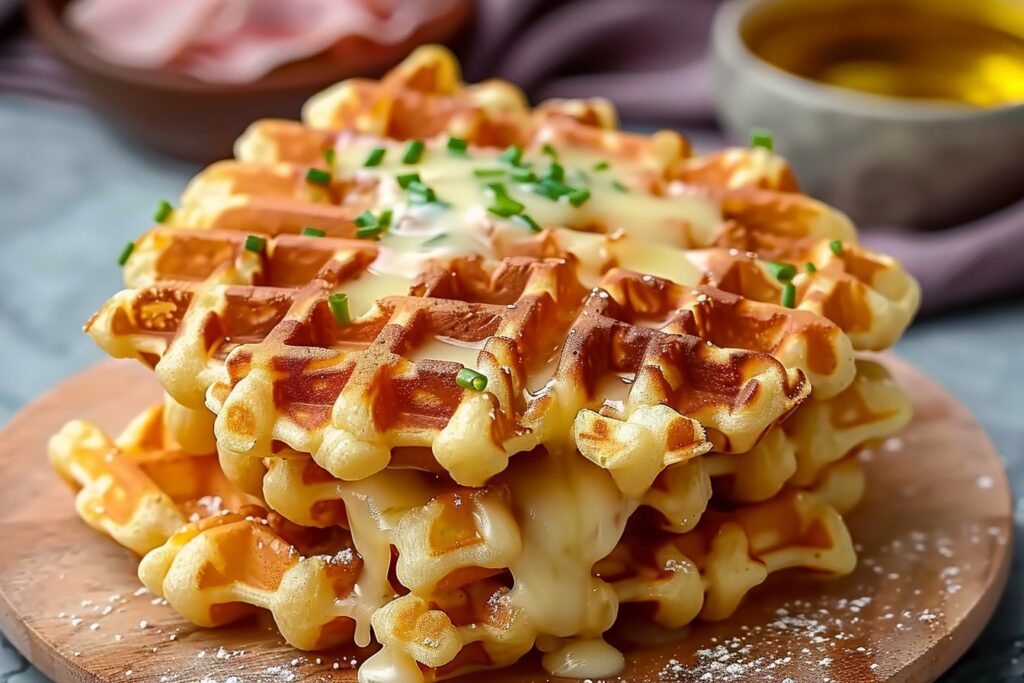
To make this Mouthwatering King’s Hawaiian Cheesecake Danish You’ll Love, start by giving yourself a clean, calm workspace. Preheat your oven to 350°F, then lightly grease a 9 by 13 inch baking dish so nothing sticks. Take your 12 King’s Hawaiian rolls and gently split them in half horizontally, like little slider buns, and nestle all the bottoms snugly into the dish. You want them touching, almost like a pull apart bread, so the cheesecake filling does not leak through the gaps. If a few pieces tear, just press them back together in the pan, the filling will help glue everything in place as it bakes.
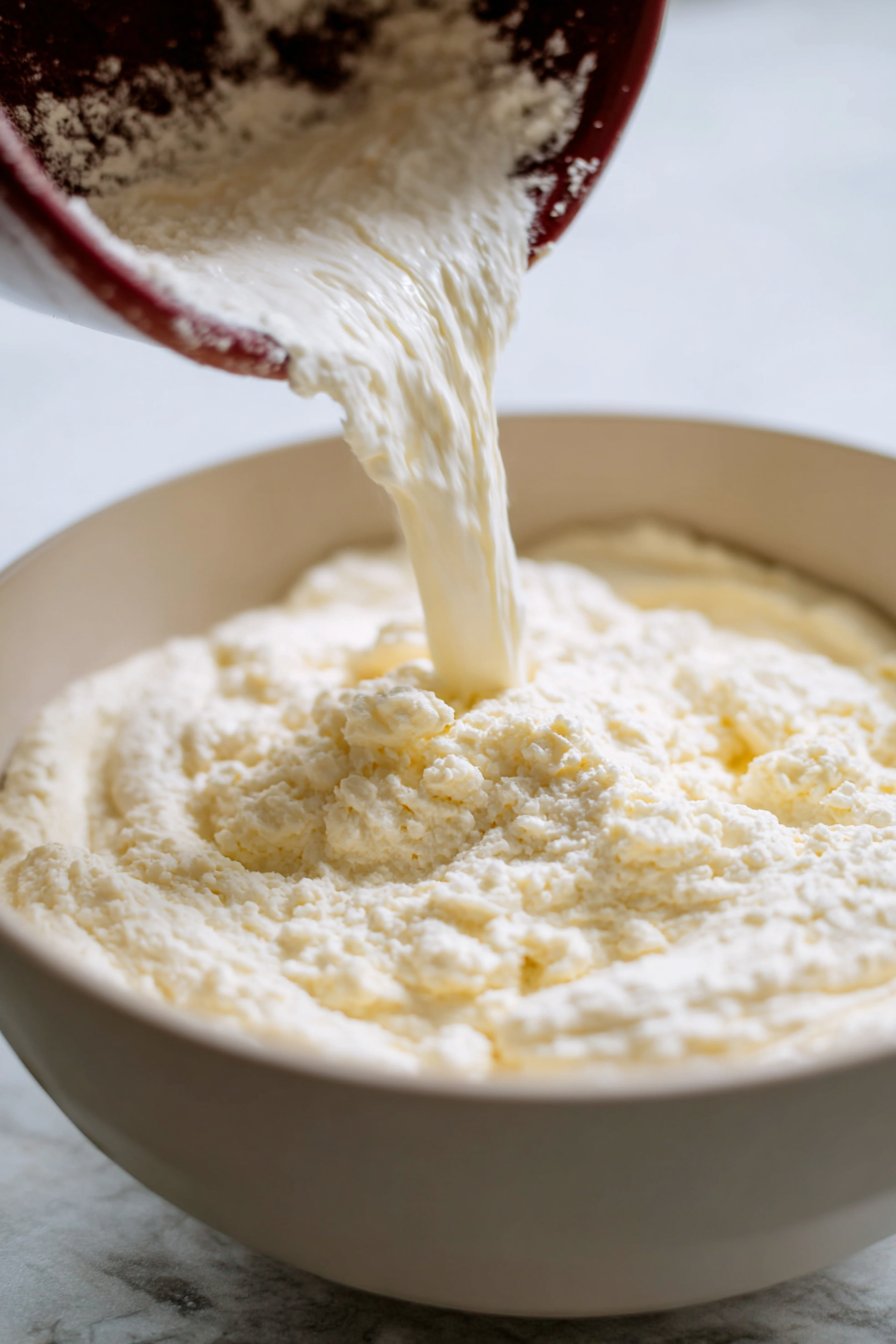
In a medium mixing bowl, beat the softened cream cheese, granulated sugar, and vanilla bean paste until the mixture looks completely smooth and fluffy, with no little cream cheese lumps. An electric hand mixer makes this easy, but you can use a sturdy whisk and some patience. Spread this creamy mixture over the roll bottoms in an even layer, going right to the edges so every bite has cheesecake. Place the top halves of the rolls back on, trying to line them up with their bottoms so the finished danish looks like a neat tray of sweet rolls. In a clean bowl, whisk together the powdered sugar, milk, and more vanilla bean paste until you have a pourable glaze that runs off the whisk in a thick ribbon, then drizzle it slowly over the tops so most of the surface is coated.
Instructions Process of Mouthwatering King’s Hawaiian Cheesecake Danish You’ll Love
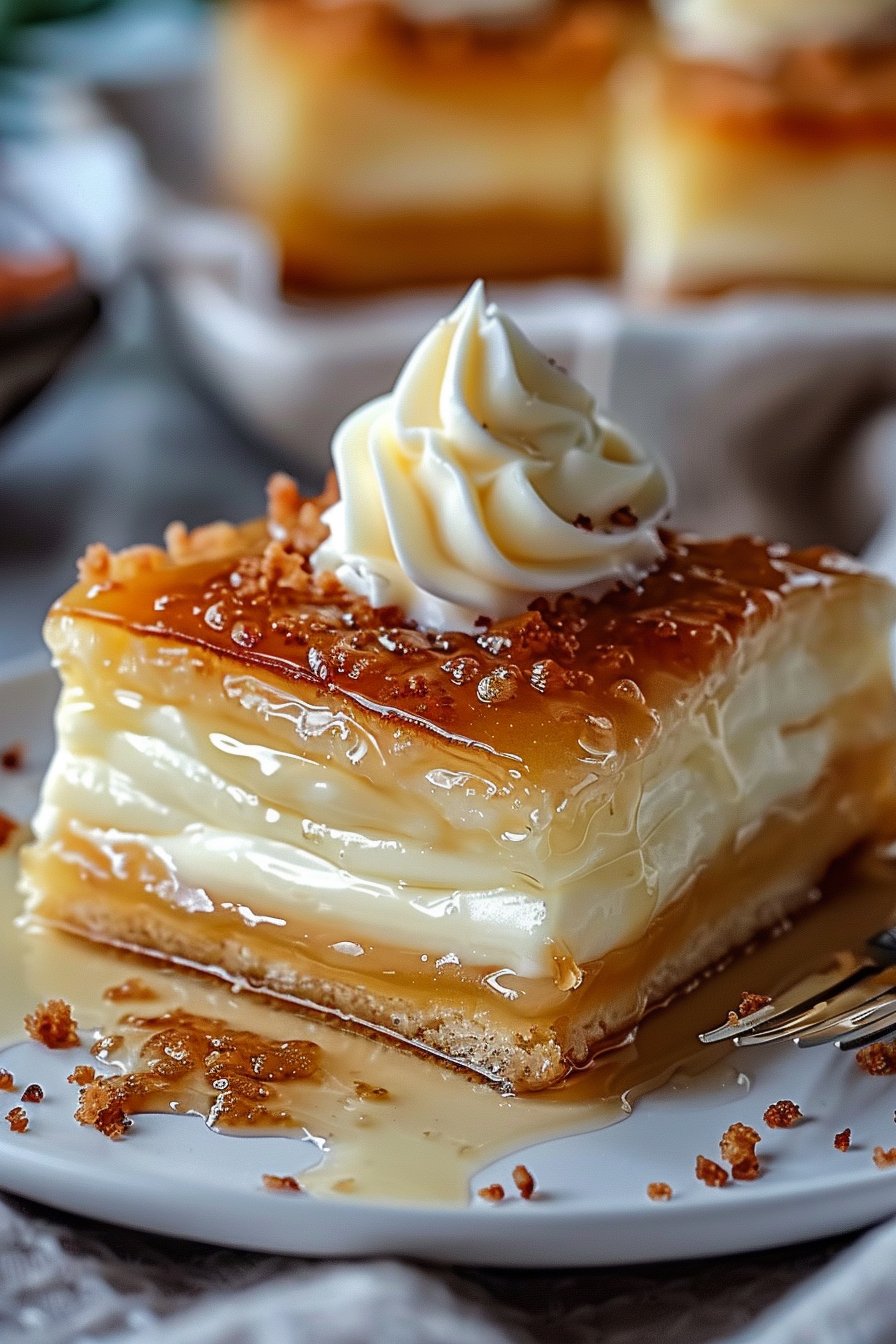
Slide the pan into the oven and bake for 20 to 25 minutes, until the tops look deeply golden and the glaze is glossy and a little bubbly around the edges. If your oven runs hot, start checking at 18 minutes, you want caramelized tops, not burned sugar. Let the pan cool on a rack for at least 10 minutes so the cheesecake layer can set slightly, which makes slicing much cleaner. Serve the danish warm for a soft, custardy center, or let it cool to room temperature for a firmer, more classic cheesecake texture. Either way, you will see why this truly is a Mouthwatering King’s Hawaiian Cheesecake Danish You’ll Love, perfect next to a cup of coffee or as a sweet ending after something cozy like cinnamon baked apples.
Time, Prep, and Storage Plan
This Mouthwatering King’s Hawaiian Cheesecake Danish You’ll Love is a true weeknight treat, because you only need about 10 minutes of hands on time and roughly 25 minutes in the oven. I like to soften the cream cheese first, then split all 12 rolls at once so assembly feels almost like building a cozy little cheesecake quilt. While the danish bakes, you can clean up the mixing bowl, set out plates, and maybe even brew coffee or tea so everything is ready when those golden tops come out. If you are serving this for brunch, you can assemble the rolls the night before, cover the pan tightly, and refrigerate, then add the glaze and bake in the morning. Just plan to add 5 extra minutes of bake time if the pan goes into the oven cold from the fridge.
For storage, let the pan cool until just slightly warm, then cover it tightly with foil or a reusable lid and refrigerate for up to 3 days. Because of the cream cheese filling, this Mouthwatering King’s Hawaiian Cheesecake Danish You’ll Love should not sit out at room temperature for more than 2 hours after baking. To reheat individual portions, place a piece on a small baking sheet and warm in a 325°F oven for 6 to 8 minutes, or microwave on medium power in 15 second bursts until just warm and soft. If you want to freeze leftovers, wrap slices in plastic, then place them in a freezer bag and freeze for up to 1 month, thawing overnight in the fridge before reheating. I like to refresh the glaze by whisking a spoonful of powdered sugar with a few drops of milk and drizzling it over warm pieces, just like I do with my favorite cinnamon roll casserole.
Flexible Options and Serving Notes
This Mouthwatering King’s Hawaiian Cheesecake Danish You’ll Love is wonderfully forgiving, so you can easily tailor it to what you have on hand. If you prefer a slightly tangier filling, swap half of the cream cheese for full fat Greek yogurt or sour cream, and add an extra spoonful of sugar to balance the flavor. You can also stir in a spoonful of lemon zest, orange zest, or a pinch of cinnamon to the cream cheese mixture for a gentle twist that still feels classic. For a fruitier version, tuck a few spoonfuls of cherry pie filling, blueberry preserves, or sliced strawberries right on top of the cream cheese layer before adding the roll tops. If you need to make this for someone who is dairy sensitive, you can experiment with a plant based cream cheese and a dairy free milk in the glaze, just expect a slightly softer set.
You can serve this danish warm, at room temperature, or chilled, and each version has its own charm. Warm from the oven, the rolls are extra fluffy and the cream cheese center tastes almost like a soft cheesecake cloud. At room temperature, the flavors settle and the glaze firms up a bit, which makes it perfect for brunch buffets or potlucks where it will sit out for a while. If you chill it, you get more of a bar style dessert vibe, similar to a cheesecake bar baked on a sweet bread crust, and it slices very cleanly. I like to pair this Mouthwatering King’s Hawaiian Cheesecake Danish You’ll Love with hot coffee for brunch, or with fresh berries and a little whipped cream for dessert. If you enjoy easy shareable sweets like this, you might also love serving it alongside a cozy bread pudding or a simple berry crisp for a full dessert spread.
Serving of Mouthwatering King’s Hawaiian Cheesecake Danish You’ll Love
Conclusion
I hope you can already picture a pan of these warm, golden pastries coming out of your oven, cream cheese filling just set, and that sweet King’s Hawaiian aroma drifting through your kitchen. This is the kind of cozy baking project that turns an ordinary morning into something a little magical. Whether you are sharing them with sleepy kids in pajamas, surprising a friend with a plate at the door, or treating yourself on a quiet afternoon, this Mouthwatering King’s Hawaiian Cheesecake Danish You’ll Love has a way of making the moment feel special.
If you have been craving a recipe that feels impressive but still totally doable, this is it. You do not need fancy equipment or pastry school skills, just a bit of time and a willingness to play in the kitchen. I hope you print it, save it, and come back to it whenever you want that perfect mix of soft, sweet bread and creamy cheesecake filling.
When you try it, I would love for you to slow down, pour a cup of coffee or tea, and really enjoy that first bite. Share it with someone you love, or make it your new brunch tradition. And if you bake a batch, let me know how it went and what memories you made around the table.
For more delicious recipes like this, follow us on Facebook and Pinterest!
Recipe
Mouthwatering King's Hawaiian Cheesecake Danish You'll Love
Ingredients
Method
- Preheat the oven to 350°F and lightly grease a 9×13 inch baking dish with cooking spray or butter.
- Carefully split each King's Hawaiian roll in half horizontally and arrange all the bottom halves snugly in a single layer in the prepared baking dish.
- In a medium mixing bowl, beat the softened cream cheese, granulated sugar, and 1 teaspoon of vanilla bean paste until smooth and creamy.
- Spread the cream cheese mixture evenly over the roll bottoms, all the way to the edges.
- Place the top halves of the rolls back over the cream cheese layer, aligning them with their bottoms.
- In a separate bowl, whisk together the powdered sugar, milk, and remaining 1 teaspoon vanilla bean paste until the glaze is smooth and pourable.
- Drizzle the glaze evenly over the tops of the rolls, covering most of the surface.
- Bake for 20 to 25 minutes, until the tops are golden brown and the glaze is bubbly around the edges.
- Remove from the oven and let cool in the pan for at least 10 minutes before slicing and serving warm or at room temperature.
Notes
- For cleaner slices, let the danish cool closer to room temperature before cutting.
- Store leftovers covered in the refrigerator for up to 3 days and reheat gently in a low oven.
- You can add a handful of fresh berries over the cream cheese layer before baking for a fruity twist.