
What Makes This Recipe Reliable
You get bakery style Cream Cheese Danish at home in under 30 minutes, without wrestling with yeast or sticky dough. This recipe gives you flaky, golden pastry with a silky cream cheese center that sets perfectly every time, so you can serve something that looks and tastes like it came from a glass bakery case.
I built this Cream Cheese Danish recipe the way I used to test pastries on photo shoots, where every swirl and crumb had to behave the same way all day long. The method uses store bought crescent dough, so you skip the stress of temperamental yeast and still get those flaky, buttery layers. The filling is carefully balanced with just enough sugar and vanilla bean paste to taste like a real bakery case pastry, not a sugary breakfast bomb. I also tested the oven temperature and timing so the pastry turns golden at about the same moment the cream cheese sets, which keeps the centers silky instead of runny or rubbery. If you have ever pulled a tray of pastries from the oven and found raw centers and burnt edges, this recipe is written to help you avoid that heartbreak.
Every step is there for a reason, and I kept the directions as clear and visual as possible. Pressing the perforations in the crescent dough might seem fussy, but it prevents leaks so your Cream Cheese Danish keeps its filling where it belongs. Rolling from the long side, then coiling into a spiral, creates more layers and a deeper well for the cream cheese mixture, so you get a better ratio of pastry to filling in every bite. I also give you a realistic bake time range, 15 to 18 minutes, because every oven runs a little differently, and I want you to know what to look for, golden brown edges and a slightly puffed center, instead of relying only on the clock. If you enjoy this recipe, you can use the same shaping and filling method for other pastries, like fruit topped danishes or even a simple cinnamon roll style breakfast pastry.
This Cream Cheese Danish has also been tested for real life schedules, not just ideal baking days. The filling mixes in one bowl, the glaze in another, and both use pantry staples you probably already have. You can assemble the pastries on a lined sheet pan while your oven preheats, so there is no long waiting period where dough can overproof or soften too much. I wrote the recipe so a newer baker can follow it confidently, but a more experienced baker can still use it as a reliable base and dress it up with lemon zest, jam, or even a sprinkle of toasted nuts. The goal is simple and repeatable bakery style results, the kind of Cream Cheese Danish you can trust to come out beautifully on a sleepy Sunday morning or for a special brunch spread.
The Method (Step-by-Step)
You will start your Cream Cheese Danish by getting the basics in place so you can work calmly and neatly. Preheat your oven to 350°F (177°C) and line a baking sheet with parchment or give it a light mist of nonstick spray so nothing sticks. In a medium bowl, beat the room temperature cream cheese, white sugar, and vanilla bean paste until the mixture looks glossy and smooth, with no little lumps of cream cheese hiding along the sides. Scrape the bowl once or twice so everything blends evenly. If you want a hint of lemon, this is the moment to add a teaspoon of zest. Set that filling aside and unroll your crescent dough, gently pressing the seams together so you have four rectangles per tube, with no visible perforation lines.
Next, brush each rectangle with melted butter, going all the way to the edges so the pastry browns evenly and does not dry out. Sprinkle about 1 tablespoon of brown sugar over each piece, then roll each rectangle up from the long side, like a tight little jelly roll. Pinch the seams so the spiral does not unwind, then coil each roll into a neat circle, tucking the tail under so it stays put. Use your fingers or the back of a spoon to press a shallow well in the center of each coil, but keep the edges a bit higher so they can cradle the filling. Transfer each shaped Cream Cheese Danish to your prepared baking sheet, leaving some space between them so they have room to puff.
Spoon about 2 tablespoons of the cream cheese filling into the center of each pastry, then slide the tray into the hot oven and bake for 15 to 18 minutes, until the edges turn a deep golden color and the centers look set, not wet. If the centers still wobble like loose custard, give them another minute or two. While they bake, whisk together powdered sugar, a splash of milk, and a little more vanilla bean paste until the glaze is smooth and pourable, like heavy cream. If it looks too thick, add a drop or two more milk; if it looks thin, sift in a spoonful of powdered sugar. Let the pastries cool for about 5 to 10 minutes, just until they are warm but not scorching, then drizzle the glaze over the tops in slow ribbons. If you love a bakery case finish like on my lemon blueberry scones, you can go back with a second light drizzle once the first layer sets. Serve your Cream Cheese Danish slightly warm, when the centers are silky and the glaze is just barely firm.
Keep It Fresh: Timing and Storage
Cream Cheese Danish is at its very best within a few hours of baking, when the crescent layers are still crisp at the edges and the cream cheese center feels silky and just set. If you plan to serve them for brunch, you can bake in the morning and leave them at room temperature for up to 2 hours on a cooling rack, lightly tented with foil to keep them from drying out. After that, you will want to move them to the fridge because of the dairy rich filling. Let the pastries cool completely before storing, or condensation will make the bottoms soggy and the glaze turn sticky. I like to line the container with parchment and arrange the danishes in a single layer, with just a bit of space between each one.
For short term storage, keep your Cream Cheese Danish in an airtight container in the refrigerator for up to 3 days. The texture will soften, but the flavor stays lovely and the filling stays safe. When you are ready to enjoy, reheat a single danish in a 300°F oven for about 5 to 8 minutes, just until warm and slightly crisp again, or give it a very quick 10 to 15 second spin in the microwave if you do not mind a softer bite. If you want to make them ahead for a busy weekend, you can bake, cool, then freeze on a sheet pan until firm, and transfer to a freezer bag for up to 1 month. Press out extra air before sealing to protect the pastry. Thaw in the fridge overnight, then refresh in the oven before serving, just like you would with my fruit filled breakfast pastries or any buttery brunch treat.
Swaps, Variations, and Serving Ideas
If you are out of something or want to play a little, this Cream Cheese Danish is very forgiving. You can swap the crescent dough for puff pastry sheets, just cut them into squares and fold the corners in slightly around the filling for a more classic bakery look. Use full fat brick cream cheese for the best texture, but in a pinch, a thicker Greek yogurt can replace up to one third of the cream cheese for a lighter bite. If you do not have vanilla bean paste on hand, use vanilla bean paste and add a tiny pinch of lemon zest to keep that bright bakery flavor. You can also trade the simple vanilla glaze for a quick lemon glaze by stirring in fresh lemon juice instead of milk, which makes the rich Cream Cheese Danish taste a little fresher.
For fruity variations, spoon a teaspoon of jam or pie filling right on top of the cream cheese mixture before baking. Cherry, blueberry, or apricot all work beautifully, and they give you that classic coffee shop Cream Cheese Danish vibe. You can also scatter a few fresh berries over the filling, just pat them dry first so they do not water down the center. If you love texture, sprinkle sliced almonds, chopped pecans, or a little cinnamon sugar over the pastries before they go into the oven. For a more indulgent twist, drizzle warm Nutella or melted chocolate over the cooled danish instead of the vanilla glaze.
Serving these is the fun part. I like to pair a warm Cream Cheese Danish with strong coffee for a cozy weekend breakfast, or slice each one in half and serve on a platter for a brunch spread alongside something fresh like a fruit salad or a pan of baked oatmeal. For a dessert moment, add a scoop of vanilla ice cream and a handful of macerated berries over the top. If you want a kid friendly treat, skip the glaze and let everyone drizzle their own, or add colorful sprinkles while the glaze is still tacky. Leftovers taste lovely at room temperature, but you can warm them in a low oven for a few minutes to bring back that just baked softness.

Serving of Cream Cheese Danish
Conclusion
Every time I pull a tray of these warm pastries from the oven, I am reminded that the simplest moments often feel the most magical. A quiet morning with a cup of coffee, a sleepy kid wandering into the kitchen asking what smells so good, a friend dropping by “just for one” and staying to chat for an hour. That is the real power of a homemade Cream Cheese Danish. It is not just about flaky layers and sweet filling. It is about the little pauses in our busy days where we slow down and share something warm and made with care.
If you have been nervous to try a bakery style pastry at home, I hope this recipe has shown you that you absolutely can do it. You do not need fancy equipment or professional training. You just need a bit of time, some simple ingredients, and a willingness to get a little flour on the counter. The first bite will make every step worth it.
I would love for you to print this recipe, save it, and make it part of your own family traditions. Bake it for a cozy weekend breakfast, a holiday brunch, or a “just because” treat for someone you love. And when you do, let me know how it went and what memories you created around your table.
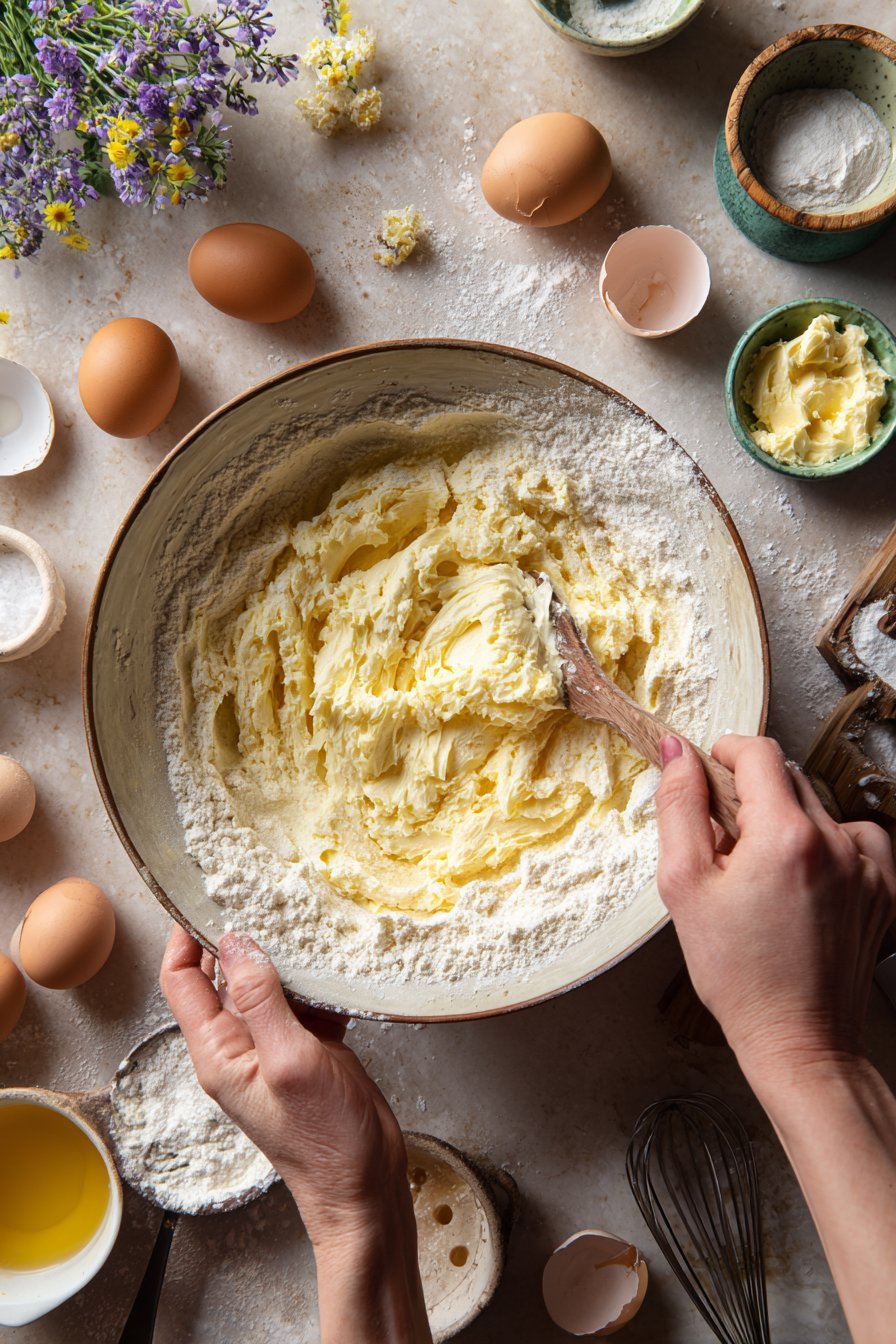
Instructions Process of Cream Cheese Danish
Recipe

Cream Cheese Danish
Ingredients
Method
- Preheat the oven to 350°F. Line a baking sheet with parchment paper or lightly coat with nonstick spray.
- In a medium bowl, beat the softened cream cheese, granulated sugar, and 1/2 tsp vanilla bean paste until smooth and creamy. Set aside.
- Unroll the crescent dough and separate it into 4 rectangles by pressing the perforations together on each pair of triangles to seal the seams.
- Brush the melted butter evenly over each rectangle, coating all the way to the edges.
- Sprinkle 1 tbsp brown sugar evenly over each rectangle.
- Starting from a long side, roll each rectangle up tightly into a log and pinch the edge to seal.
- Coil each log into a spiral, tucking the end underneath, then gently press the center to form a shallow well while keeping the edges higher.
- Place the shaped pastries on the prepared baking sheet, spacing them slightly apart.
- Spoon about 2 tbsp of the cream cheese mixture into the well in the center of each pastry.
- Bake for 15 to 18 minutes, until the pastries are puffed and golden brown and the centers look set.
- While the danishes bake, whisk the powdered sugar, remaining 1/2 tsp vanilla bean paste, and milk in a small bowl until smooth and pourable.
- Remove the danishes from the oven and let them cool on the baking sheet for 5 to 10 minutes.
- Drizzle the vanilla glaze over the warm danishes and serve.
Notes
- If your glaze is too thick, add a few drops of milk; if it is too thin, whisk in a little more powdered sugar.